|
|
|
|
|
This Example is exactly like the Heat Exchanger Example in Section 13.7.2 of RV2 with the addition that it will now take place across flowsheets. Start a new case. Choose ASME Steam for the property method and H2O as the only component, then enter the main simulation environment. On the PFD add two blank Sub-flowsheets (
Now add a Heat Exchanger (
Press the up button in the toolbar
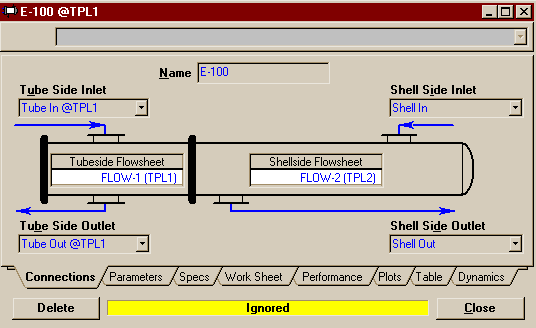
Now, on the Connections page, switch the Shellside Flowsheet to FLOW-2 (TPL2). Then Connect Shell In and Shell Out to the Shell Side inlet and outlet, respectively.
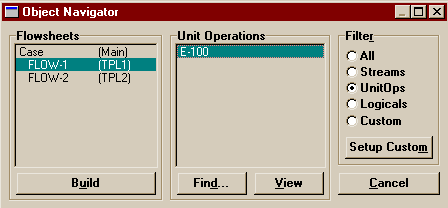
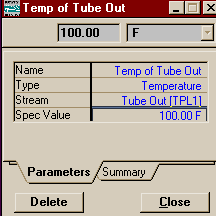
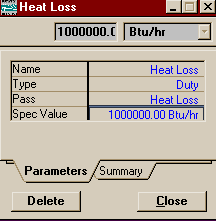
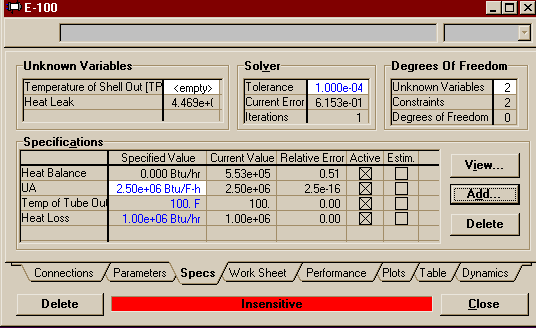
Now we need to set the pressure drops in the heat exchanger so for that switch to the Parameters Page. Oh oh. HYSYS will not let us change the settings. We've run into a side effect of placing our heat exchanger in two sub-flowsheets not along the same branch of the heirarchy. Remember, when you enter an environment, only those below it in the heirarchy are still active. Those above and on other branches are left in hold mode to reduce unnecessary calculations. Had we been doing this from the Main Flowsheet, it wouldn't have been a problem, as both sub-flowsheets are below it and active. We need to switch to the other flowsheet. You may either push the up arrow to return to the Parent Environment and the enter FLOW-1 from its property view, OR you may bring up the Object Navigator again and choose FLOW-1, then press Build. Double-click on the Heat Exchanger to open its property view and go to the Parameters Page. Enter 5 psi for both the Tube Side Delta P and the Shell Side Delta P. At this point there is only one degree of freedom left (you may glance at the Specs page to see this), and defining one exit temperature would be enough to finish it. However, this example is also going to include Heat Loss (loss of the hot side duty to leakage) and Heat Leak (loss of the cold side duty to leakage). To do that you must first change the Heat Exchagner Model on the Parameters Page to Weighted and select the Extremes radio button in the Heat Loss/Leak group. This brings our degree of freedom up to 3. On the Specs Page, enter 2.50e6 BTU/F-hr for UA. Then add the following two constraints:
For more information about all of these parameters, read Section 13.7 on Heat Exchangers in RV2. Now, in the example in the reference volume, the exchanger would be solved by now. Instead, we get this:
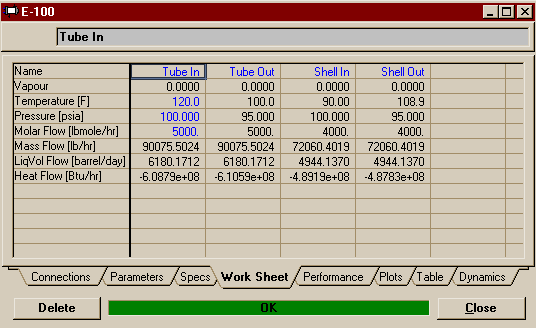
Don't panic (because I already did for you when I first saw this)! It's just the problem of the other half of the exchanger being on hold still, again. This time getting HYSYS to do what we want is a little more interesting (but not impossible).Go up to the Main Flowsheet, then back to this one. You'll note it still says Insensitive. Just switch to the Parameters Page and flick the Ignore checkbox on, then off and it should complete. If you switch to the Work Sheet Page, however, you'll see that the numbers haven't all been filled in yet. So, one more time, go up to the Main Flowsheet, close the consistency error and push go, then go back down to FLOW-1. This time, the final results may be seen easily from the Work Sheet Page.
Note that a lot of the convolutions we went through only occured because of the order in which we supplied information or where we were when we did so. Other times you might only have to go back once to the parent environment and that will be sufficient. But if you do ever have trouble getting HYSYS to do what it should be able to do with no problem, I hope this provides you with good ideas on how to kick start it. :-) |
Return to the Tools Page | Return to the HYSYS Page | Return to the CENG 403 homepage
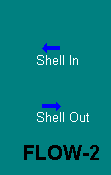
 on the Object Palette). Make sure you choose the Start
With a Blank Flowsheet... Option. On the Property View
of the first Sub-Flowsheet, press Sub-Flowsheet
Environment... . Now that we are in the Sub-Flowsheet
environment, we will begin by placing the tube side of the
heat exchanger. Place two material streams on the new PFD.
Label one Tube In and the other Tube Out.
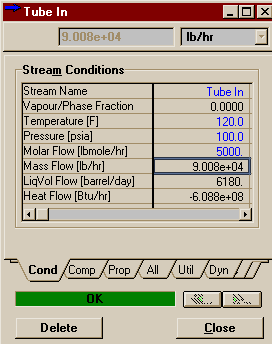
Tube In should be defined as shown below. The
Mole Fraction of H2O should, of course, be
1.
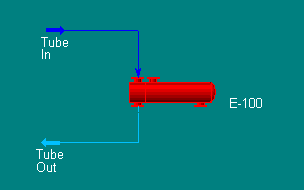
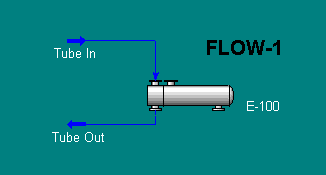
 on the Object Palette), and connect the two streams as I
have shown below. If you want the same icon I have used,
Object Inspect the heat exchanger using the secondary
mouse button and pick Change Icon from the menu.
Otherwise, just make sure you connect the streams to the
Tube side.