 Home
Home
![]() Agarose can become superheated and violently boil over. Exercise caution when heating. Swirl flask occasionally during heating.
Heat until close inspection reveals that the agarose is 100% dissolved. Undissolved agarose will appear as little flecks that look like Lilliputian contact lenses.
Agarose can become superheated and violently boil over. Exercise caution when heating. Swirl flask occasionally during heating.
Heat until close inspection reveals that the agarose is 100% dissolved. Undissolved agarose will appear as little flecks that look like Lilliputian contact lenses.
![]() Ethidium bromide (EtBr) is a powerful mutagen and is moderately
toxic and should be handled with care.
Ethidium bromide (EtBr) is a powerful mutagen and is moderately
toxic and should be handled with care.
Note: Concentrated ethidium bromide solutions should be decontaminated. One method is to treat 0.5 µg/ml staining solutions of EtBr with 1 g/liter activated charcoal, filter and incinerate the residue. Slurries of activated charcoal can be used to decontaminate surfaces (see Maniatis et al, (1989) for additional methods of decontamination).
|
1. |
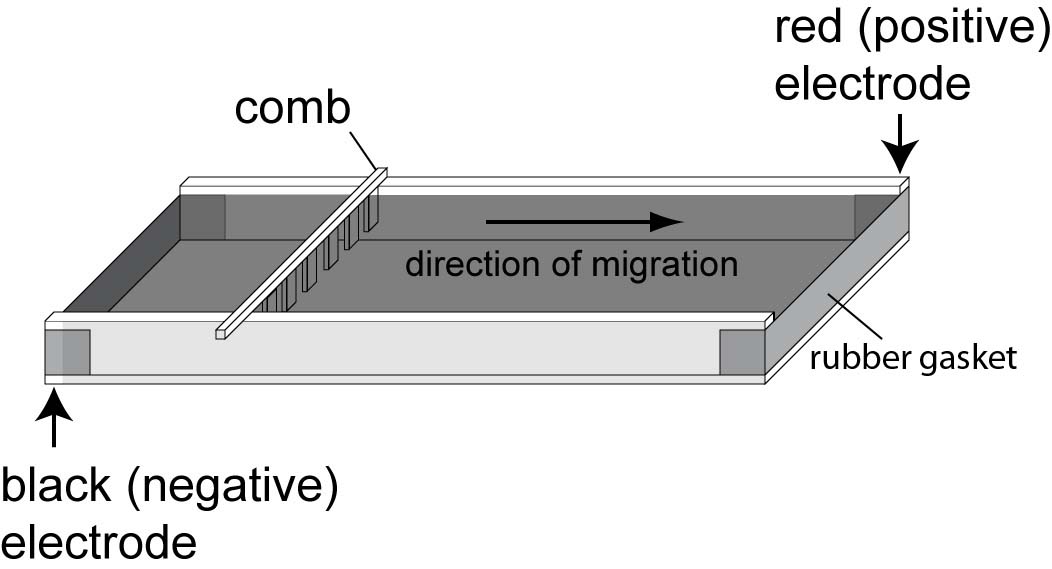
Prepare gel tray as diagrammed. Tape the ends of the casting tray as indicated or use an adjustable gel caster. Level the tray using a bubble level. |
|
|
|
2. |
Flasks of completely melted 1.2 % agarose in 1X formaldehyde agarose (FA) gel buffer have been prepared and the melted solution is incubating at 50°C. Carefully pour 50 ml melted agarose into a beaker. Remember the solution is hot!! |
|
|
|
3. |
After the instructor adds EtBr (1 drop of 0.625 mg/ml stock) and 900 µl 37% formaldehyde, gently swirl the agarose. |
|
|
|
4. |
Immediately, pour the melted agarose into the level casting tray. Use a pipet tip to push bubbles towards the bottom of the gel. Place the comb in the slot on the gel tray. CLEAN UP ANY DRIPS ON THE BENCH AND RINSE THE BEAKER! |
|
|
|
5. |
Let the gel cool until it's translucent (~ 20 minutes). |
|
|
|
6. |
Carefully remove comb and place casting tray into the electrophoresis box for running. Fill unit with 1X FA buffer to ~ 1 mm above gel. Pour carefully onto the center of the gel to prevent the gel from sliding off the tray. Equilibrate the gel in the buffer for at least 30 minutes. |
|
|
|
7. |
Carefully load the samples into the gel. |
|
|
|
8. |
Position the lid and connect the electrodes in the correct orientation. |
|
|
|
9. |
Run gel at 60 V for 1.5 h. |
|
|
|
10. |
Wear gloves. Place casting tray with gel onto a paper towel and carefully carry to the photography area. DO NOT spread EtBr outside the designated area!! From this point forward, assume that your gloves are contaminated with EtBr. Do not touch anything with those gloves that is not supposed to be contaminated. |
|
System Components
Copyright, Acknowledgements,
and Intended Use
Created by B. Beason (bbeason@rice.edu), Rice University, 25 June 1999
Updated 12 March 2012